- PUBLISHED
Altitude Acclimatization Guide for High-Altitude Trekkers
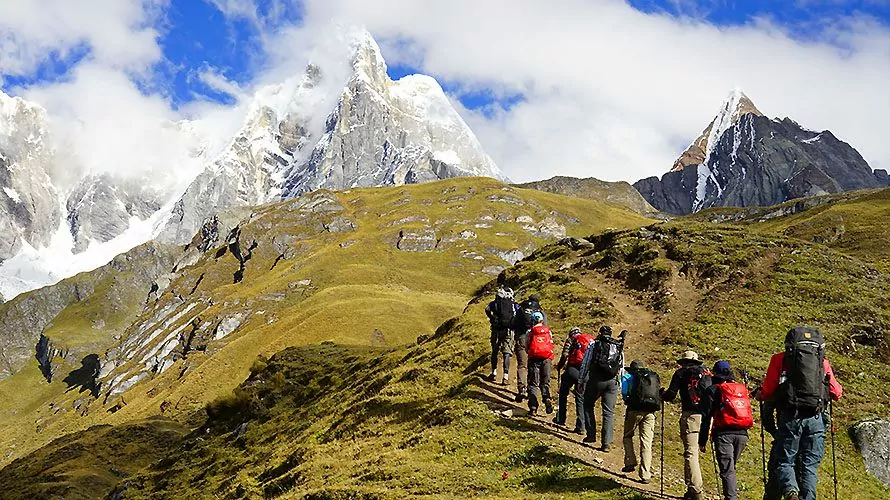
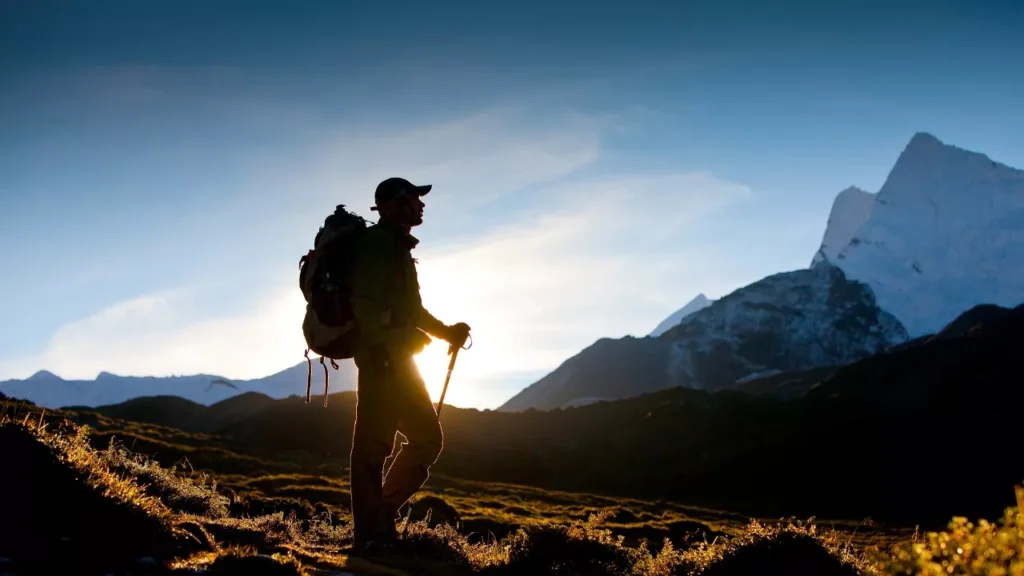
Trekking in the Himalayas is an adventure you’ll never forget. With huge mountains, peaceful trails, and beautiful villages, it’s easy to see why so many people dream of going. But there’s one thing that can make your trek difficult: the high altitude.
As you go higher, there’s less oxygen in the air. Your body has to work harder to breathe and keep you going. If you don’t give it time to adjust, you can get sick, and in some cases, it can be serious. That’s why it’s so important to understand altitude acclimatization. It’s not just for expert climbers. Every trekker needs to know how to let their body adjust to the altitude safely.
In this guide, we’ll explain what altitude acclimatization is, why it matters, and how to acclimate to altitude the right way during high-altitude treks.
What Is Altitude Acclimatization?
Altitude acclimatization is how your body adjusts to having less oxygen at high altitudes. The higher you go, the lower the air pressure gets. This means each breath has fewer oxygen molecules, even though you are breathing the same amount of air.
To handle this, your body starts to change. You will breathe faster and your heart will beat quicker. After a while, your body also makes more red blood cells to carry oxygen better. These changes help you manage the altitude, but they take time, usually around 24 hours or more to begin adjusting properly.
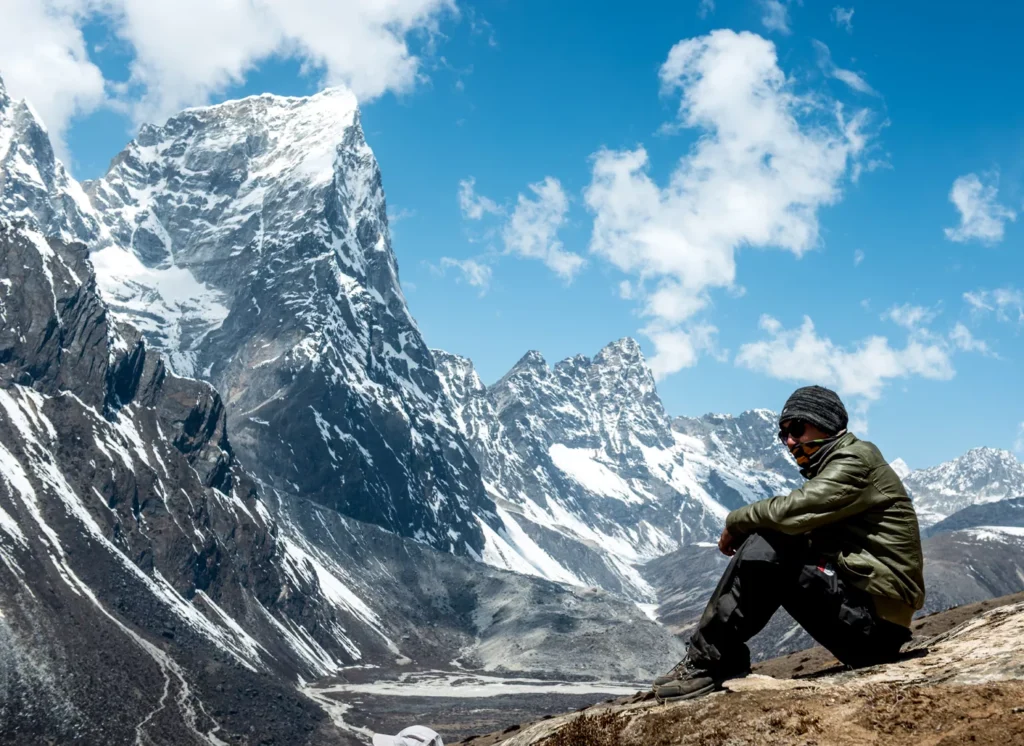
That is why it is important to climb slowly and give your body a chance to adjust. If you rush or ignore symptoms of altitude sickness, such as headache, nausea, or loss of appetite, you could get altitude sickness, which can be very serious.
Many trekkers come to Nepal aiming to visit a famous mountain of Nepal, and proper acclimatization is essential to enjoy these iconic peaks safely.
Why Is Altitude Acclimatization So Important for Trekkers?
Proper altitude acclimatization is very important to avoid sickness at higher altitudes. If you don’t adjust well, you might get Acute Mountain Sickness (AMS) or more serious problems like High Altitude Pulmonary Edema (HAPE) or High Altitude Cerebral Edema (HACE). These can happen fast and need you to go down quickly and get medical help.
Signs of poor altitude acclimatization include:
- Headache
- Nausea or vomiting
- Dizziness
- Shortness of breath
- Feeling very tired
- Losing your appetite
If you ignore these signs, it can put your health and trek at risk. Going up slowly and planning your climb helps your body get used to the altitude safely.
How Long Does It Take to Acclimate to Altitude?
Everyone adjusts to altitude at a different pace. Some people may feel fine at 3,000 meters, while others feel sick at 2,500. There’s no way to know for sure how your body will react unless you’ve been to high altitudes before.
So, how long to acclimate to altitude depends on the individual, but a general rule is allowing about 24 hours for every 300-500 meters gained in elevation after 3,000 meters.
Here’s a general guideline to help you plan:
Altitude Range
Oxygen Availability
What to Do
0–2,500m (0–8,200 ft)
~100%
Usually no need to acclimatize.
2,500–3,500m (8,200–11,500 ft)
~75%
Go slow, drink water, and watch for symptoms.
3,500–5,000m (11,500–16,400 ft)
~60–50%
Rest days are essential. Don’t climb too fast.
5,000m+ (16,400 ft and above)
Below 50%
Be extra careful. Move slowly and rest often.
What Are the 3 Stages of Acclimatization to High Altitude?
Everyone adjusts to altitude at a different pace. Some people may feel fine at 3,000 meters, while others feel sick at 2,500. There’s no way to know for sure how your body will react unless you’ve been to high altitudes before.
So, how long to acclimate to altitude depends on the individual, but a general rule is allowing about 24 hours for every 300-500 meters gained in elevation after 3,000 meters.
Here’s a general guideline to help you plan:
Stage 1: Preparation (Before the Trek)
Your acclimatization starts long before you hit the trail. A bit of preparation for high altitude hiking goes a long way.
- Preparing for the Himalayas means understanding the demands of trekking vs hiking, so your training can match the effort you’ll face on the trail
- Spend time at a moderate altitude if possible. Even a weekend hike at 2,000–3,000 meters helps.
- Talk to a doctor about altitude medications like Diamox, especially if you’ve had issues in the past.
- Pack wisely. Bring layers for warmth, water bottles, healthy snacks, and a basic medical kit.
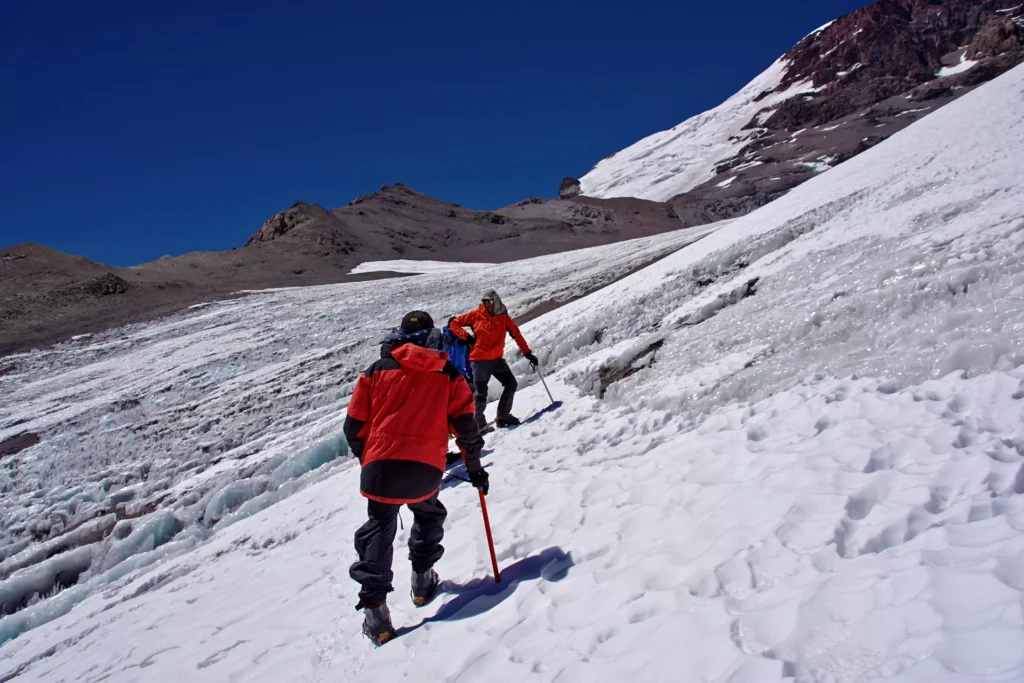
Stage 2: Ascent (During the Trek)
This is the most important stage. The way you ascend will determine how well your body adjusts.
- Don’t climb too fast. Once you’re above 3,000 meters, try not to sleep more than 300–500 meters higher than the previous night.
- Take acclimatization days. For every 1,000 meters of elevation gain, plan a full rest day.
- Follow the “climb high, sleep low” rule. Take short hikes to higher elevations, then return to sleep at a lower altitude.
- Stay hydrated and eat well. Aim for 3–4 liters of water per day and eat foods rich in carbohydrates.
- Pay attention to how you feel. If you’re tired, dizzy, or have a headache, take it seriously. Rest or descend if symptoms get worse.
Stage 3: Descent and Recovery
Reaching the highest point is exciting, but don’t let your guard down just yet. Your body still needs to recover on the way down.
- Descend slowly. While it’s tempting to rush, your body might still be adjusting.
- Keep drinking water and eating balanced meals to help with recovery.
- Rest at a moderate altitude if you’ve been very high for several days. It gives your body time to stabilize.
Tips to Acclimate to Altitude More Effectively
- Drink plenty of water. Dehydration can make altitude sickness worse.
- Eat high-energy foods. Your body burns more calories at altitude. Carbohydrates give you easy fuel and are easier to digest than fats or proteins.
- Walk slowly, even if you feel good. You might feel strong, but don’t overdo it. A steady pace helps your body adapt better.
- Rest when needed. Don’t be afraid to take breaks. A short rest can make a big difference in how you feel later.
- Avoid alcohol and sleeping pills. Both can affect your breathing and make acclimatization harder.
- Know the signs of AMS. If you feel very tired, nauseous, confused, or have a pounding headache, tell someone right away and stop climbing.
- Stay warm and dry. Cold weather can weaken your body and increase stress.
- Keep talking. Share how you feel with our certified mountain guides or trekking group. Honest conversations can prevent serious problems later.
If your goal is top peak climbing in the Himalayas, it’s critical to plan rest days and follow acclimatization schedules to reach the summit safely.
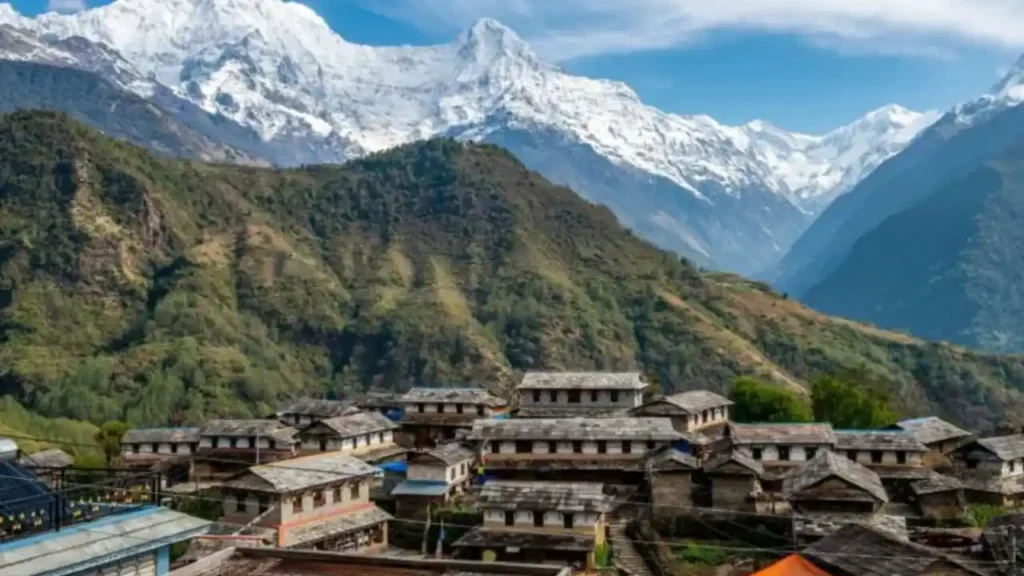
Altitude Acclimatization During Popular Treks in Nepal
Every trekking route in Nepal has different altitude profiles and risks. Here’s how altitude acclimatization works on some of the most popular ones:
Trek
Max Altitude
Key Acclimatization Points
Notes
5,364m
Namche (3,440m), Dingboche (4,410m)
Two rest days are built into most itineraries. A climb to Kala Patthar is common for acclimatization.
5,416m
Manang (3,519m), Yak Kharka (4,050m)
Altitude gain is steady, but cold and wind can be intense.
4,919m
Manang (3,519m), Shree Kharka (4,050m)
Trek quickly rises in altitude after Manang. Take an extra rest day in Shree Kharka or return to Manang if needed.
4,984m
Samagaon (3,530m), Samdo (3,875m)
Remote region. Acclimatization is vital due to limited support.
5,160m
Sunhat or cap
Short and steep trek. Take it slow, especially in the final ascent.
Before planning your trip, knowing the best time to visit Nepal helps you choose safer weather conditions for high-altitude trekking and reduces the risk of altitude-related issues.
Conclusion
Reaching high altitudes isn’t just about fitness. It’s about patience and understanding altitude acclimatization to help your body adjust. Whether you’re trekking to Everest Base Camp or exploring Mustang, take it slow to stay safe and enjoy the journey.
The mountains will always be there. The real reward is feeling good and making great memories. Drink plenty of water, rest when needed, and listen to your body.
For expert guidance on trekking in Nepal, BeThere is here to help you every step of the way. Contact us.
Table of Content
FAQs
How to acclimate to altitude properly?
The best way to acclimate to altitude is to ascend slowly, take rest days, stay hydrated, eat well, and pay attention to your body’s signals. Follow the “climb high, sleep low” rule and avoid rushing to higher elevations.
How long does it take to acclimate to altitude?
It usually takes about 24 hours for your body to start adjusting to every 300-500 meters gained above 3,000 meters. Everyone is different, so proper altitude acclimatization requires patience and monitoring symptoms closely.
What are the 3 stages of acclimatization to high altitude?
The three stages are:
- Preparation before the trek (training and gradual exposure to moderate altitude)
- Ascent during the trek (slow climbing, rest days, and hydration)
- Descent and recovery (gradual return to lower elevations and rest)
Do you go faster at higher altitudes?
No, most people actually move more slowly at higher altitudes because of lower oxygen levels and physical strain. Trying to go faster can increase the risk of altitude sickness.
What are the symptoms of altitude sickness?
Common symptoms include headache, nausea, dizziness, shortness of breath, fatigue, and loss of appetite. If symptoms worsen, it could lead to serious conditions like acute mountain sickness, high altitude pulmonary edema (HAPE), or high altitude cerebral edema (HACE).
How to prevent altitude sickness during high-altitude treks?
To prevent altitude sickness, ascend slowly, hydrate well, avoid alcohol and sleeping pills, eat high-carb foods, and take acclimatization days. Always listen to your body and descend if symptoms worsen.

Need help choosing a trail?
Connect with a local and plan your perfect trek.